Spike Installation Guide
Step 1

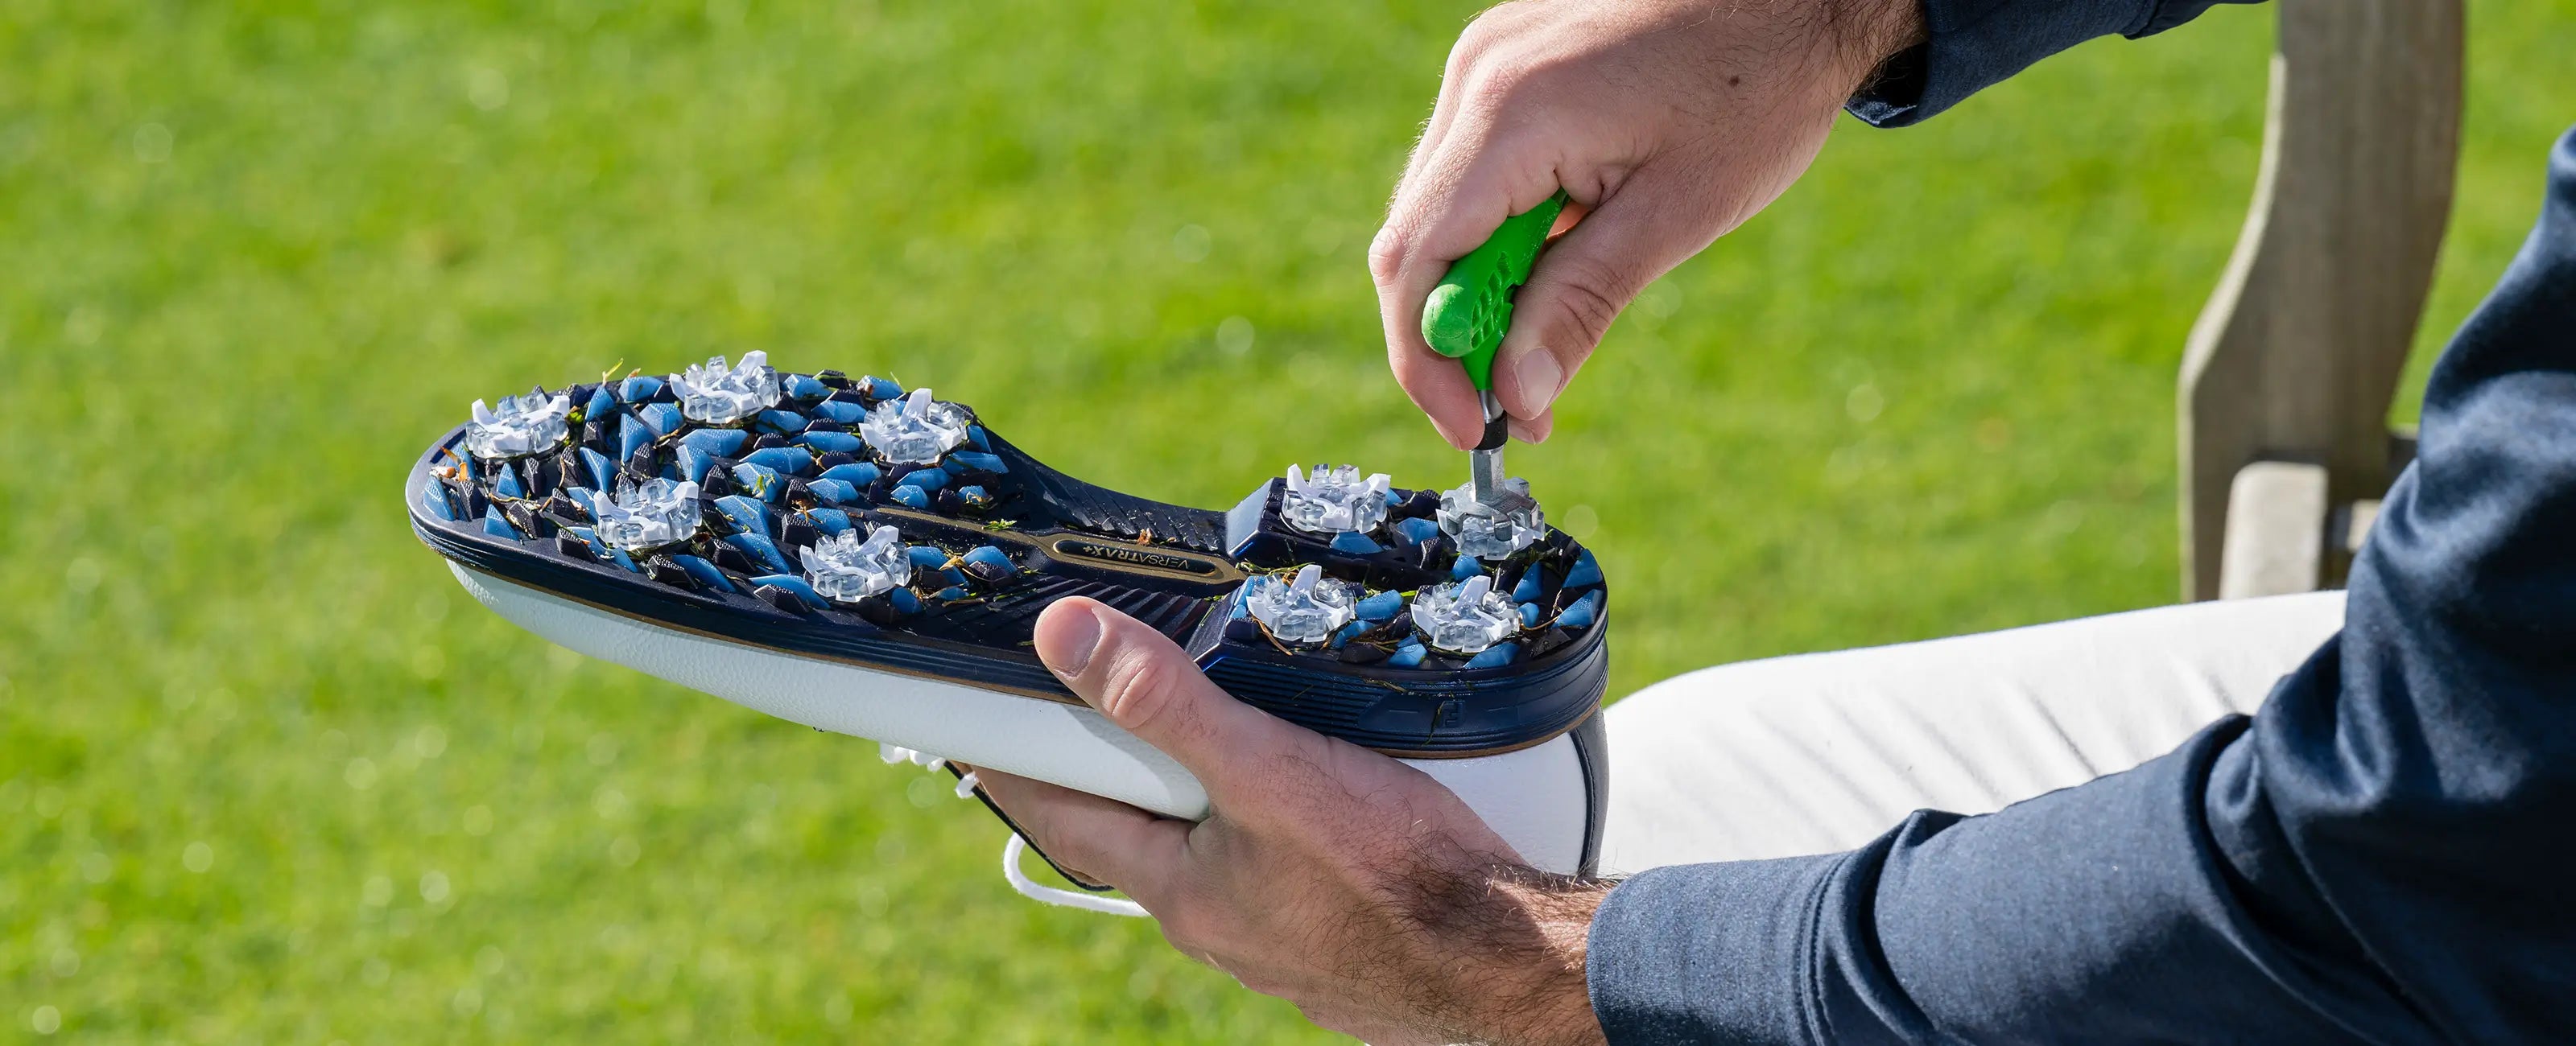
Remove your old cleats with a Softspikes® Cleat Ripper™ or Xtractor™ wrench by twisting the cleats counter-clockwise until they come out of the receptacle. Remove excess debris from the receptacle.
Step 2
Make sure you have the appropriate replacement cleats to match the receptacles in your shoes. Then, follow the instructions for your Insert System below.
Note: Installing the wrong cleat into a mis-matched receptacle can permanently damage the receptacle. Do not attempt to force the cleats into the receptacles... check for obstructions and make sure you are installing the correct cleats.


Step 3

Using a Softspikes® Tour Wrench™ or 2-Prong Insertion Wrench™, follow the instructions below for your specific Insert System/Cleats.
- A.For Fast Twist® 3.0/Tour Lock™ and Slim-LOK,® cleats, use the wrench to turn the cleat clockwise until it clicks 1 additional time, locking the cleat into place.
- B.For Fast Twist® and Tri-LOK® cleats, use the wrench to turn the cleat clockwise until it clicks 2 additional times, locking the cleat into place.
- C.For PINS® cleats, use the wrench to turn the cleat clockwise until it clicks 3 times, locking the cleat into place.
- D.For Q-LOK® cleats, use the wrench to turn the cleat clockwise until it clicks 1 time, locking the cleat into place.
- E.For Small Metal Thread cleats, use the wrench to turn the cleat clockwise until the cleat is flush with the sole of the shoe, locking the cleat into place. Do not to over-tighten.